源码介绍
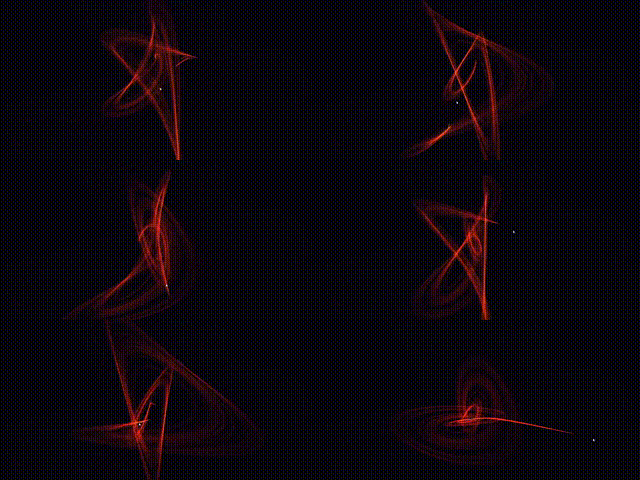
魔幻粒子新年祝福是一段基于HTML5 Canvas制作的粒子爆炸,矩阵显字的动画特效代码,给人一种非常大气的视觉感,欢迎对此段代码感兴趣的朋友前来下载使用。
源码由HTML+CSS+JS组成,记事本打开源码文件可以进行内容文字之类的修改
下载地址
{cloud title="魔幻粒子新年祝福源码" type="default" url="https://pan.quark.cn/s/3323cd0b8b51" password=""/}
]]>
魔幻粒子新年祝福是一段基于HTML5 Canvas制作的粒子爆炸,矩阵显字的动画特效代码,给人一种非常大气的视觉感,欢迎对此段代码感兴趣的朋友前来下载使用。
源码由HTML+CSS+JS组成,记事本打开源码文件可以进行内容文字之类的修改
{cloud title="魔幻粒子新年祝福源码" type="default" url="https://pan.quark.cn/s/3323cd0b8b51" password=""/}
]]>
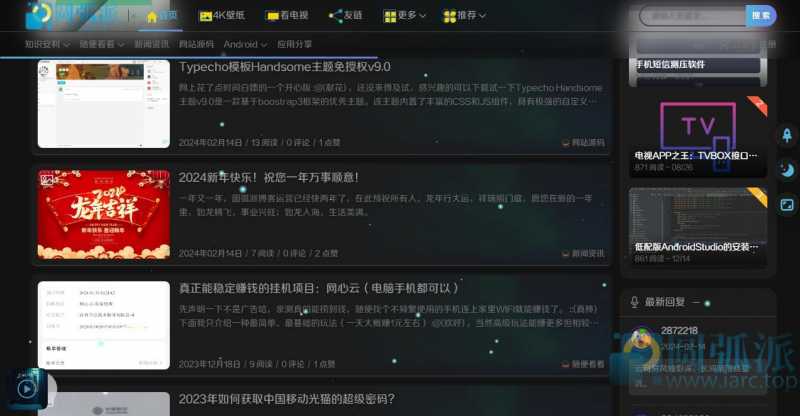
夜间模式
接下来需要编辑的文件以及相对Joe主题的文件路径:
/Joe/assets/js/Joe/assets/css/Joe/assets/css{tabs}
{tabs-pane label="添加HTML代码"}
打开joe.index.js文件找到如图所示位置
可以直接搜joe_list__item wow default定位到,其实一打开就是了。
在第一个a标签元素后面加入如下代码
<div class="article-banner-wrap"></div>
<div class="article-banner"></div>
{/tabs-pane}
{tabs-pane label="添加CSS代码"}
直接将下面的css代码复制粘贴到joe.index.css文件的最后面就行了
/*首页列表渐变*/
.article-banner-wrap {
    position: absolute;
    height: 100%;
    width: 50%;
    right: 0;
    top: 0;
}

.article-banner {
    visibility: hidden;
    opacity: .2;
    position: absolute;
    height: 100%;
    width: 50%;
    right: 0;
    top: 0;
    z-index: 0;
    background-repeat: no-repeat;
    background-size: cover;
    -webkit-background-size: cover;
    -o-background-size: cover;
    background-position: center center;
transition: opacity 0.2s;
-webkit-mask-image: -webkit-linear-gradient(right, rgba(0, 0, 0, 1) 0%, rgba(0, 0, 0, 0) 100%);
border-radius: 8px;
background:linear-gradient(to left,#2BC0E4,#EAECC6);
visibility: visible;
animation: banner-show 1s;
}
.joe_list__item.default:hover .article-banner{opacity: 1;}
其中的background可以改成图片地址,这样效果就是图片了,但图片会拖累网站加载速度,可自行决定是否要换成图片。
{/tabs-pane}
{tabs-pane label="适配夜间模式"}
打开joe.mode.css文件,将以下CSS代码加入文件底部即可。
/*首页列表图片渐变夜间模式*/
html[data-night='night'] .article-banner{
    background: linear-gradient(to left,#1F1C2C,#928DAB);
    opacity:0.1
}
我这里不是最底部是因为我后来又加其他东西了,其实也不是一定要最底部,只是方便小白操作和自己描述了。
{/tabs-pane}
{/tabs}

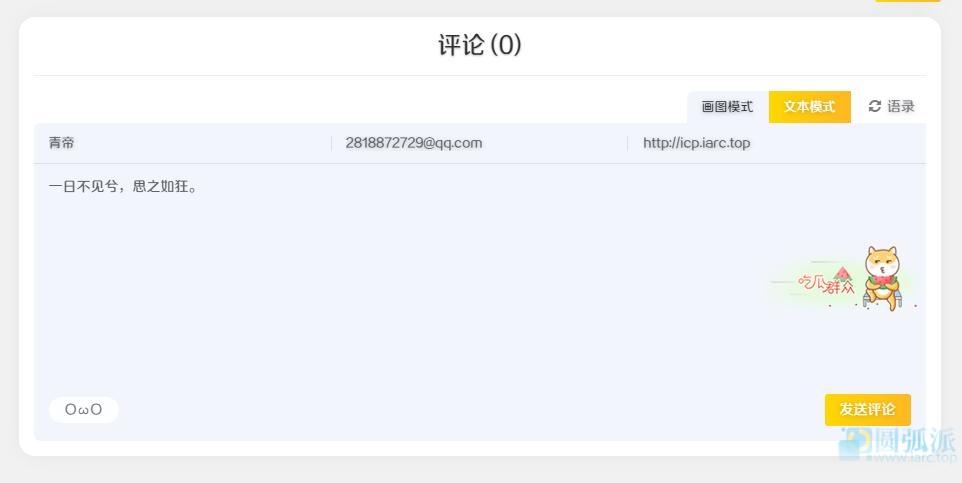
.joe_comment__respond-form .body{padding:15px;background:url(https://www.iarc.top/usr/uploads/2024/03/1257364055.png);background-position:right;background-repeat:no-repeat;resize:none;}.joe_comment__respond-form .body:hover{background-position-x:4000px;transition:ease-in-out 2s;}.joe_comment__respond-form .body 就是评论框主题,可以直接在前端按F12查看自己主题的是哪个组
图片:
最好自己保存下来,以防失效。

纯CSS实现,效果可见本页面从下往上飘得一闪一闪的特效,未引入除CSS代码外任何文件。
{hide}
<link rel="stylesheet" href="https://www.iarc.top/css/firefly.css" />
<style>.circle-container {position: fixed;top: 0;left: 0;z-index: 1}</style>
<script>
var firefly = "";
for (var i = 1; i <= 100; i++) {
    firefly = '<div class="circle-container"><div class="circle"></div></div>';
    document.writeln(firefly);
}
</script>
{/hide}
可添加至任何HTML网页,CSS文件建议本地化一下,以免链接失效。]]>

鼠标流光背景特效(乱起的名别太在意 :@(献花) ),canvas画布配合JS即可实现,这个版本是我从一个人单页里面抄下来的,顺便优化了一下后将其加入到了本站夜间模式
{card-default label="快速实现" width=""}
<canvas id="sbcanvas" class="sbcanvas"></canvas>
<script src="https://www.iarc.top/CDN/js/sbxg.js"></script>
<style>
.sbcanvas{
    display: block;
   position: fixed;
   top: 0;
   z-index: -9;
}
</style>
{/card-default}
1.先在body写入
<canvas id="sbcanvas" class="sbcanvas"></canvas>
<script src="https://www.iarc.top/CDN/js/sbxg.js"></script>
2.更改css属性display为none(日间模式不显示该元素)
.sbcanvas{
    display: none;
   position: fixed;
   top: 0;
   z-index: -9;
}
</style>
3.在joe.mode.css文件夹最下面加入以下代码
html[data-night='night'] .sbcanvas{display:block;}完成以上操作即可大功告成,快去开启夜间模式试一下吧
]]>
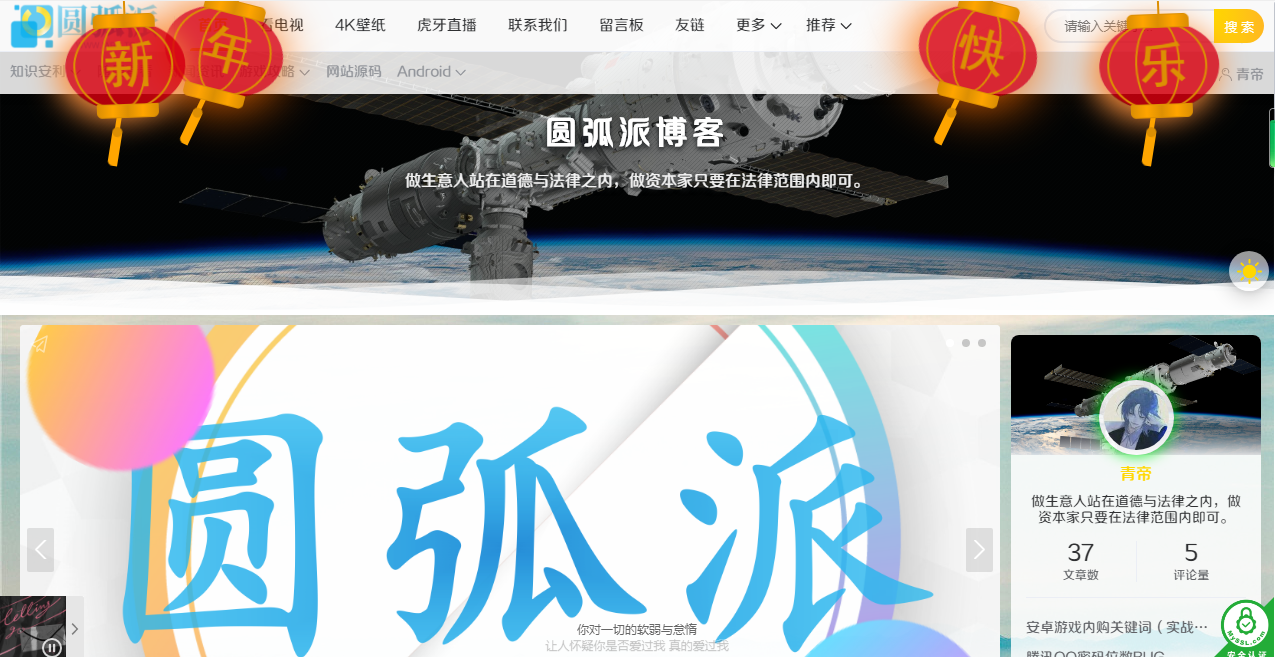
将下面代码加在head标签或者body中即可
<!-- 灯笼代码 -->
<meta charset="utf-8">
<div class="deng-box2">
    <div class="deng">
        <div class="xian">
        </div>
        <div class="deng-a">
            <div class="deng-b">
                <div class="deng-t">年</div>
            </div>
        </div>
        <div class="shui shui-a">
            <div class="shui-c">
            </div>
            <div class="shui-b"></div>
        </div>
    </div>
</div>
<div class="deng-box3">
    <div class="deng">
        <div class="xian">
        </div>
        <div class="deng-a">
            <div class="deng-b">
                <div class="deng-t">新</div>
            </div>
        </div>
        <div class="shui shui-a">
            <div class="shui-c"></div>
            <div class="shui-b">
            </div>
        </div>
    </div>
</div>
<div class="deng-box1">
    <div class="deng">
        <div class="xian">
        </div>
        <div class="deng-a">
            <div class="deng-b">
                <div class="deng-t">乐</div>
            </div>
        </div>
        <div class="shui shui-a">
            <div class="shui-c"></div>
            <div class="shui-b"></div>
        </div>
    </div>
</div>
<div class="deng-box">
    <div class="deng">
        <div class="xian">
        </div>
        <div class="deng-a">
            <div class="deng-b">
                <div class="deng-t">快</div>
            </div>
        </div>
        <div class="shui shui-a">
            <div class="shui-c">
            </div>
            <div class="shui-b"></div>
        </div>
    </div>
</div>
<style type="text/css">
    .deng-box {
        position: fixed;
        top: -40px;
        right: 150px;
        z-index: 9999;
        pointer-events: none;
    }
    .deng-box1 {
        position: fixed;
        top: -30px;
        right: 10px;
        z-index: 9999;
        pointer-events: none
    }
    .deng-box2 {
        position: fixed;
        top: -40px;
        left: 150px;
        z-index: 9999;
        pointer-events: none
    }
    .deng-box3 {
        position: fixed;
        top: -30px;
        left: 10px;
        z-index: 9999;
        pointer-events: none
    }
    .deng-box1 .deng,
    .deng-box3 .deng {
        position: relative;
        width: 120px;
        height: 90px;
        margin: 50px;
        background: #d8000f;
        background: rgba(216, 0, 15, .8);
        border-radius: 50% 50%;
        -webkit-transform-origin: 50% -100px;
        -webkit-animation: swing 5s infinite ease-in-out;
        box-shadow: -5px 5px 30px 4px #fc903d
    }
    .deng {
        position: relative;
        width: 120px;
        height: 90px;
        margin: 50px;
        background: #d8000f;
        background: rgba(216, 0, 15, .8);
        border-radius: 50% 50%;
        -webkit-transform-origin: 50% -100px;
        -webkit-animation: swing 3s infinite ease-in-out;
        box-shadow: -5px 5px 50px 4px #fa6c00
    }
    .deng-a {
        width: 100px;
        height: 90px;
        background: #d8000f;
        background: rgba(216, 0, 15, .1);
        margin: 12px 8px 8px 8px;
        border-radius: 50% 50%;
        border: 2px solid #dc8f03
    }
    .deng-b {
        width: 45px;
        height: 90px;
        background: #d8000f;
        background: rgba(216, 0, 15, .1);
        margin: -4px 8px 8px 26px;
        border-radius: 50% 50%;
        border: 2px solid #dc8f03
    }
    .xian {
        position: absolute;
        top: -20px;
        left: 60px;
        width: 2px;
        height: 20px;
        background: #dc8f03
    }
    .shui-a {
        position: relative;
        width: 5px;
        height: 20px;
        margin: -5px 0 0 59px;
        -webkit-animation: swing 4s infinite ease-in-out;
        -webkit-transform-origin: 50% -45px;
        background: orange;
        border-radius: 0 0 5px 5px
    }
    .shui-b {
        position: absolute;
        top: 14px;
        left: -2px;
        width: 10px;
        height: 10px;
        background: #dc8f03;
        border-radius: 50%
    }
    .shui-c {
        position: absolute;
        top: 18px;
        left: -2px;
        width: 10px;
        height: 35px;
        background: orange;
        border-radius: 0 0 0 5px
    }
    .deng:before {
        position: absolute;
        top: -7px;
        left: 29px;
        height: 12px;
        width: 60px;
        content: " ";
        display: block;
        z-index: 999;
        border-radius: 5px 5px 0 0;
        border: solid 1px #dc8f03;
        background: orange;
        background: linear-gradient(to right, #dc8f03, orange, #dc8f03, orange, #dc8f03)
    }
    .deng:after {
        position: absolute;
        bottom: -7px;
        left: 10px;
        height: 12px;
        width: 60px;
        content: " ";
        display: block;
        margin-left: 20px;
        border-radius: 0 0 5px 5px;
        border: solid 1px #dc8f03;
        background: orange;
        background: linear-gradient(to right, #dc8f03, orange, #dc8f03, orange, #dc8f03)
    }
    .deng-t {
        font-family: 黑体, Arial, Lucida Grande, Tahoma, sans-serif;
        font-size: 3.2rem;
        color: #dc8f03;
        font-weight: 700;
        line-height: 85px;
        text-align: center
    }
    .night .deng-box,
    .night .deng-box1,
    .night .deng-t {
        background: 0 0 !important
    }
    @-moz-keyframes swing {
        0% {
            -moz-transform: rotate(-10deg)
        }
        50% {
            -moz-transform: rotate(10deg)
        }
        100% {
            -moz-transform: rotate(-10deg)
        }
    }
    @-webkit-keyframes swing {
        0% {
            -webkit-transform: rotate(-10deg)
        }
        50% {
            -webkit-transform: rotate(10deg)
        }
        100% {
            -webkit-transform: rotate(-10deg)
        }
    }
</style>
方法开始
电脑右击,手机当然也可以找到相应工具即可,获取首页源码,确定你的网站logo的class属性名称
找到所用模板文件得全局css开始添加:before 选择器代码
提示(.logo:before{})logo改为你自己的class属性名
/**logo扫光效果CSS**/
.logo:before{  /**根据logo外div样式名称修改before前名称**/
    content:"";
    position: absolute;
    left: -665px;
    top: -460px;
    width: 120px;
    height: 10px; /**光标的宽度,可根据实际调整**/
    background-color: rgba(255,255,255,.5);
    -webkit-transform: rotate(-45deg);
    -moz-transform: rotate(-45deg);
    -ms-transform: rotate(-45deg);
    -o-transform: rotate(-45deg);
    transform: rotate(-45deg);
    -webkit-animation: searchLights 1s ease-in 1s infinite;
    -o-animation: searchLights 1s ease-in 1s infinite;
    animation: searchLights 1.5s ease-in 1s infinite;/**第一个数字参数控制扫光速度,数字越大越慢**/
}
@-webkit-keyframes searchLights {
    0% { left: -100px; top: 0; }
    to { left: 120px; top: 100px; }
}
@-o-keyframes searchLights {
    0% { left: -100px; top: 0; }
    to { left: 120px; top: 100px; }
}
@-moz-keyframes searchLights {
    0% { left: -100px; top: 0; }
    to { left: 120px; top: 100px; }
}
@keyframes searchLights {
    0% { left: -100px; top: 0; }
    to { left: 120px; top: 100px; }
}
/*END*/水平垂直居中
margin: auto;{margin-left:auto;margin-right:auto;}缩写形式为:
{margin:0 auto;}0为上下边距,可按自己需要设置成不同的
div { border: 1px solid; border-bottom: 0 none; /**key code here**/}点击 区域 大小 从 16 × 16 一下子 提升 到 38 × 38
.icon- clear { width: 16px; height: 16px; border: 11px solid transparent; /**key code here**/}<html lang="en"><head><meta charset="UTF-8"><title>demotitle><style> .container { position: fixed; top:0; right: 0; left: 0; bottom: 0; background-color: rgba(0,0,0,.5); text-align: center; font-size: 0; white-space: nowrap; overflow: auto; } .container:after { content: ''; display: inline-block; height: 100%; vertical-align: middle; } .content { width: 240px; height: 120px; padding: 20px; } .dialog { display: inline-block; vertical-align: middle; border-radius: 6px; background-color: #fff; font-size: 14px; white-space: normal; }style>head><body><div class="container"><div class="dialog"><div class="content">这dialog永远居中div>div>div>body>html>/**good code**/html {overflow: hidden;}/**bad code**/html, body { overflow: hidden;}